by Jean-Pierre Lapointe & Denis Vallée, Technologies Optim
Inc.
(c) Copyright 1998, Technologies Optim Inc.
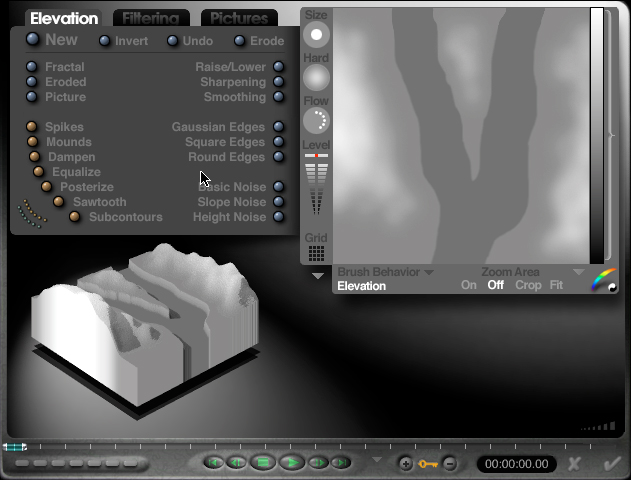
Create another mountain. Go to the Terrain/Object edition window, and select the Mountain02.tif file in the BumpMaps folder.
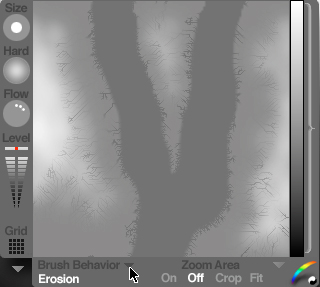
In the “Grid” menu, select again “512 — ultra-fine”. Add erosion to the elevation the same way as for the first one.
When finished, click the checkmark.
Associate the “Mounts” family to the second mountain, and place it completely in front of the first one on the Z axis.
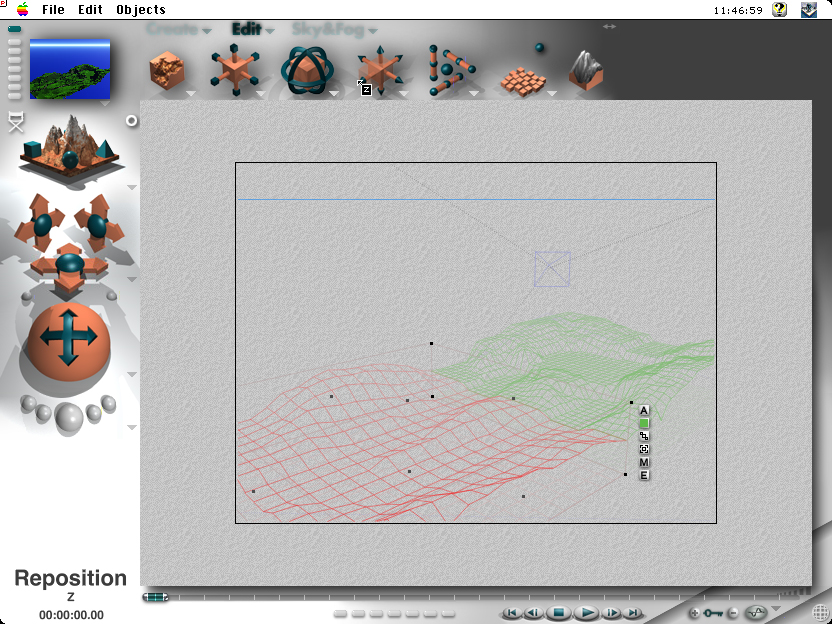
In the “View Options” pop-up menu, select “From Right”.
Align the end of mountain 2 with the end of mountain 1.

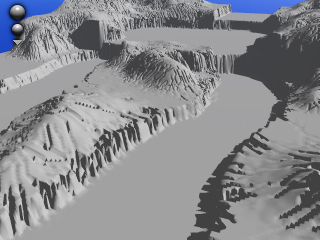
If you render the current scene, you should get a result like the following.
Save your project!